8.4 KiB
| title | description |
|---|---|
| React App Setup | This tutorial shows how you can build a basic [React](https://reactjs.org/) app with [Create React App](https://github.com/facebook/create-react-app) that uses the squid-js JavaScript package to publish a data set, get a data set, and more. |
Git repository and CodeSandbox
All code snippets in this tutorial are sourced from the oceanprotocol/react-tutorial GitHub repository:
The final source of this tutorial is also available as a CodeSandbox:
Requirements
-
Node.js>= 10 is installed. You can check usingnode -v -
npm>= 5.2 is installed. You can check usingnpm -v -
A Web3 capable browser, like Firefox/Chrome with MetaMask installed, connected to Nile network
-
Some Nile ETH from the Nile Faucet. You can either go to commons.nile.dev-ocean.com/faucet, or execute this command replacing
<YOUR ADDRESS>with your MetaMask account address:curl --data '{"address": "<YOUR ADDRESS>", "agent": "curl"}' -H "Content-Type: application/json" -X POST https://faucet.nile.dev-ocean.com/faucet
New Create React App
We are going to use Create React App to bootstrap our React app. You could use npx create-react-app marketplace but it creates more files than needed for the scope of this tutorial.
So let's go minimal and build up our app from scratch with this structure:
marketplace/
├── package.json
├── public/
├──── index.html
├── src/
├──── index.js
First, create a new project folder for your new app, e.g. marketplace. Within that, add a new file package.json with the following content:
GITHUB-EMBED https://github.com/oceanprotocol/react-tutorial/blob/master/package.json json GITHUB-EMBED
Notice the @oceanprotocol/squid dependency, which is the Ocean Protocol JavaScript library. Save that file, and in your terminal install the dependencies we have just defined in package.json:
npm install
Then create the HTML file used to render the React app into. For that, create a folder public/ and in it a file index.html with the following content:
GITHUB-EMBED https://github.com/oceanprotocol/react-tutorial/blob/master/public/index.html html GITHUB-EMBED
Add Basic Markup
Create a new folder src/ and within that a index.js file with the following content as our base, where we already import squid-js and web3.js:
GITHUB-EMBED e639e9ed44/src/index.js jsx 1-4,6,14,100-110,122-127 GITHUB-EMBED
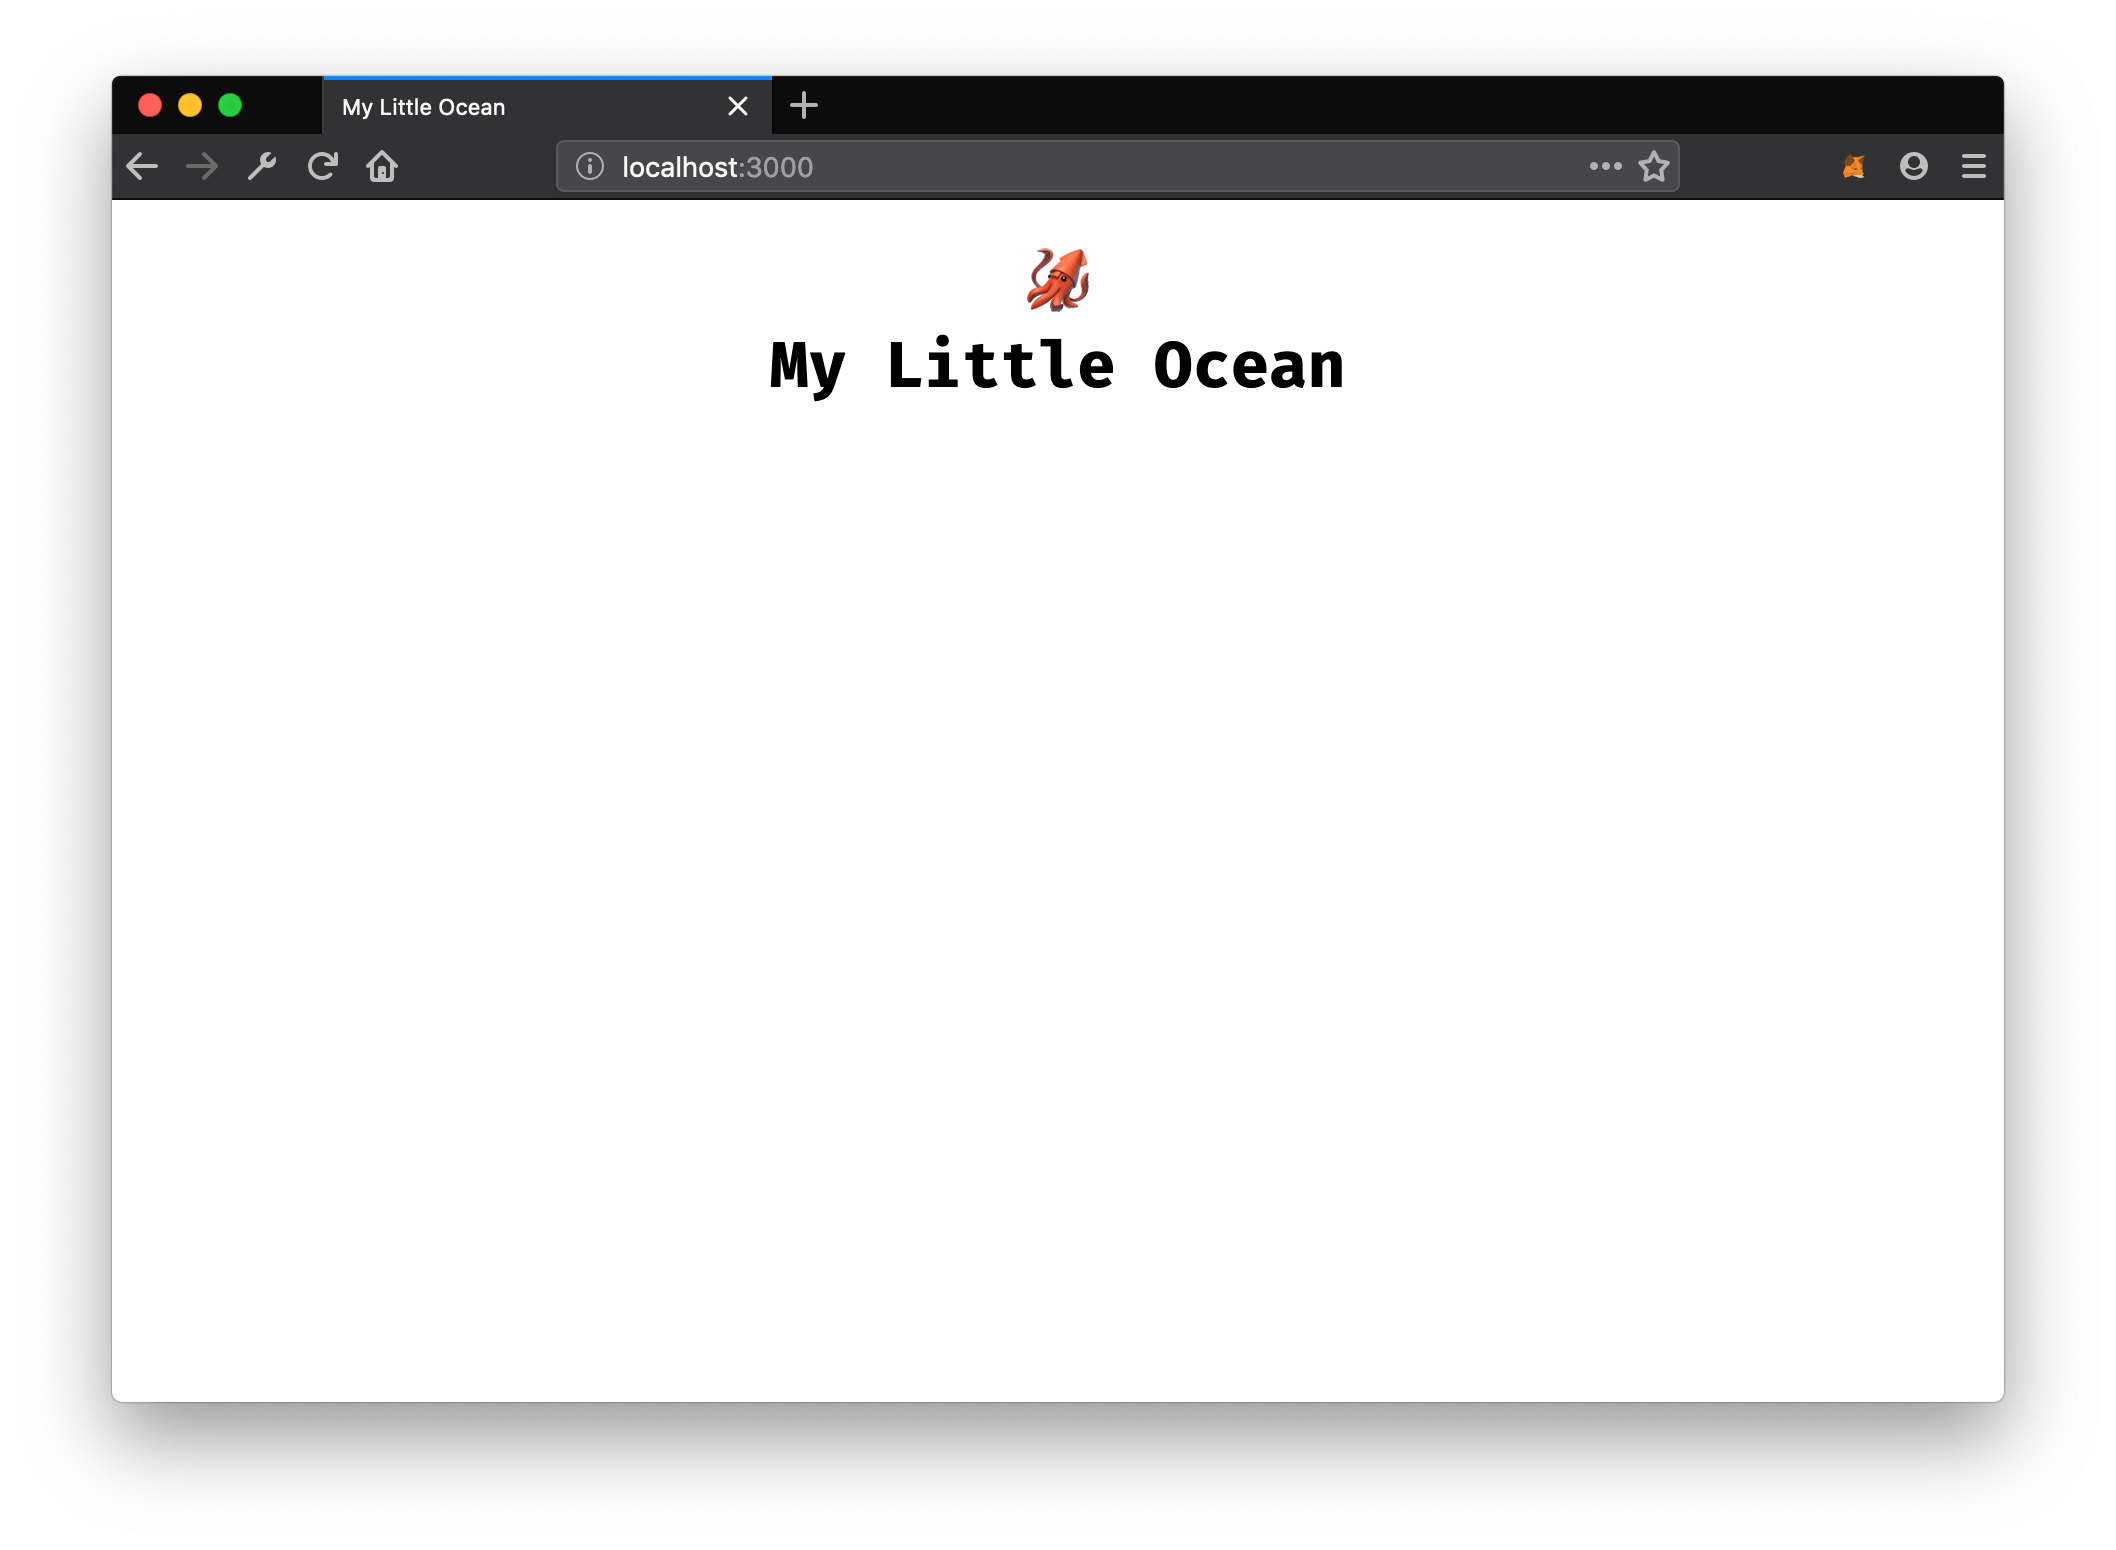
At this point you can start up the app and see the result in your browser:
npm start
Go to localhost:3000 to inspect your newly created app:
Setup Web3
We already are importing web3.js but we still need to enable account access for the browsers supporting it, and make sure nothing breaks in browsers which are not Web3-capable.
To do that we add a simple check at top of src/index.js and then enable account access with:
GITHUB-EMBED e639e9ed44/src/index.js jsx 7-12 GITHUB-EMBED
And let's also output some warning for non-Web3 browsers within our render() function:
GITHUB-EMBED e639e9ed44/src/index.js jsx 112 GITHUB-EMBED
This should give you the following markup:
GITHUB-EMBED e639e9ed44/src/index.js jsx 1-4,6-14,100-112,122-127 GITHUB-EMBED
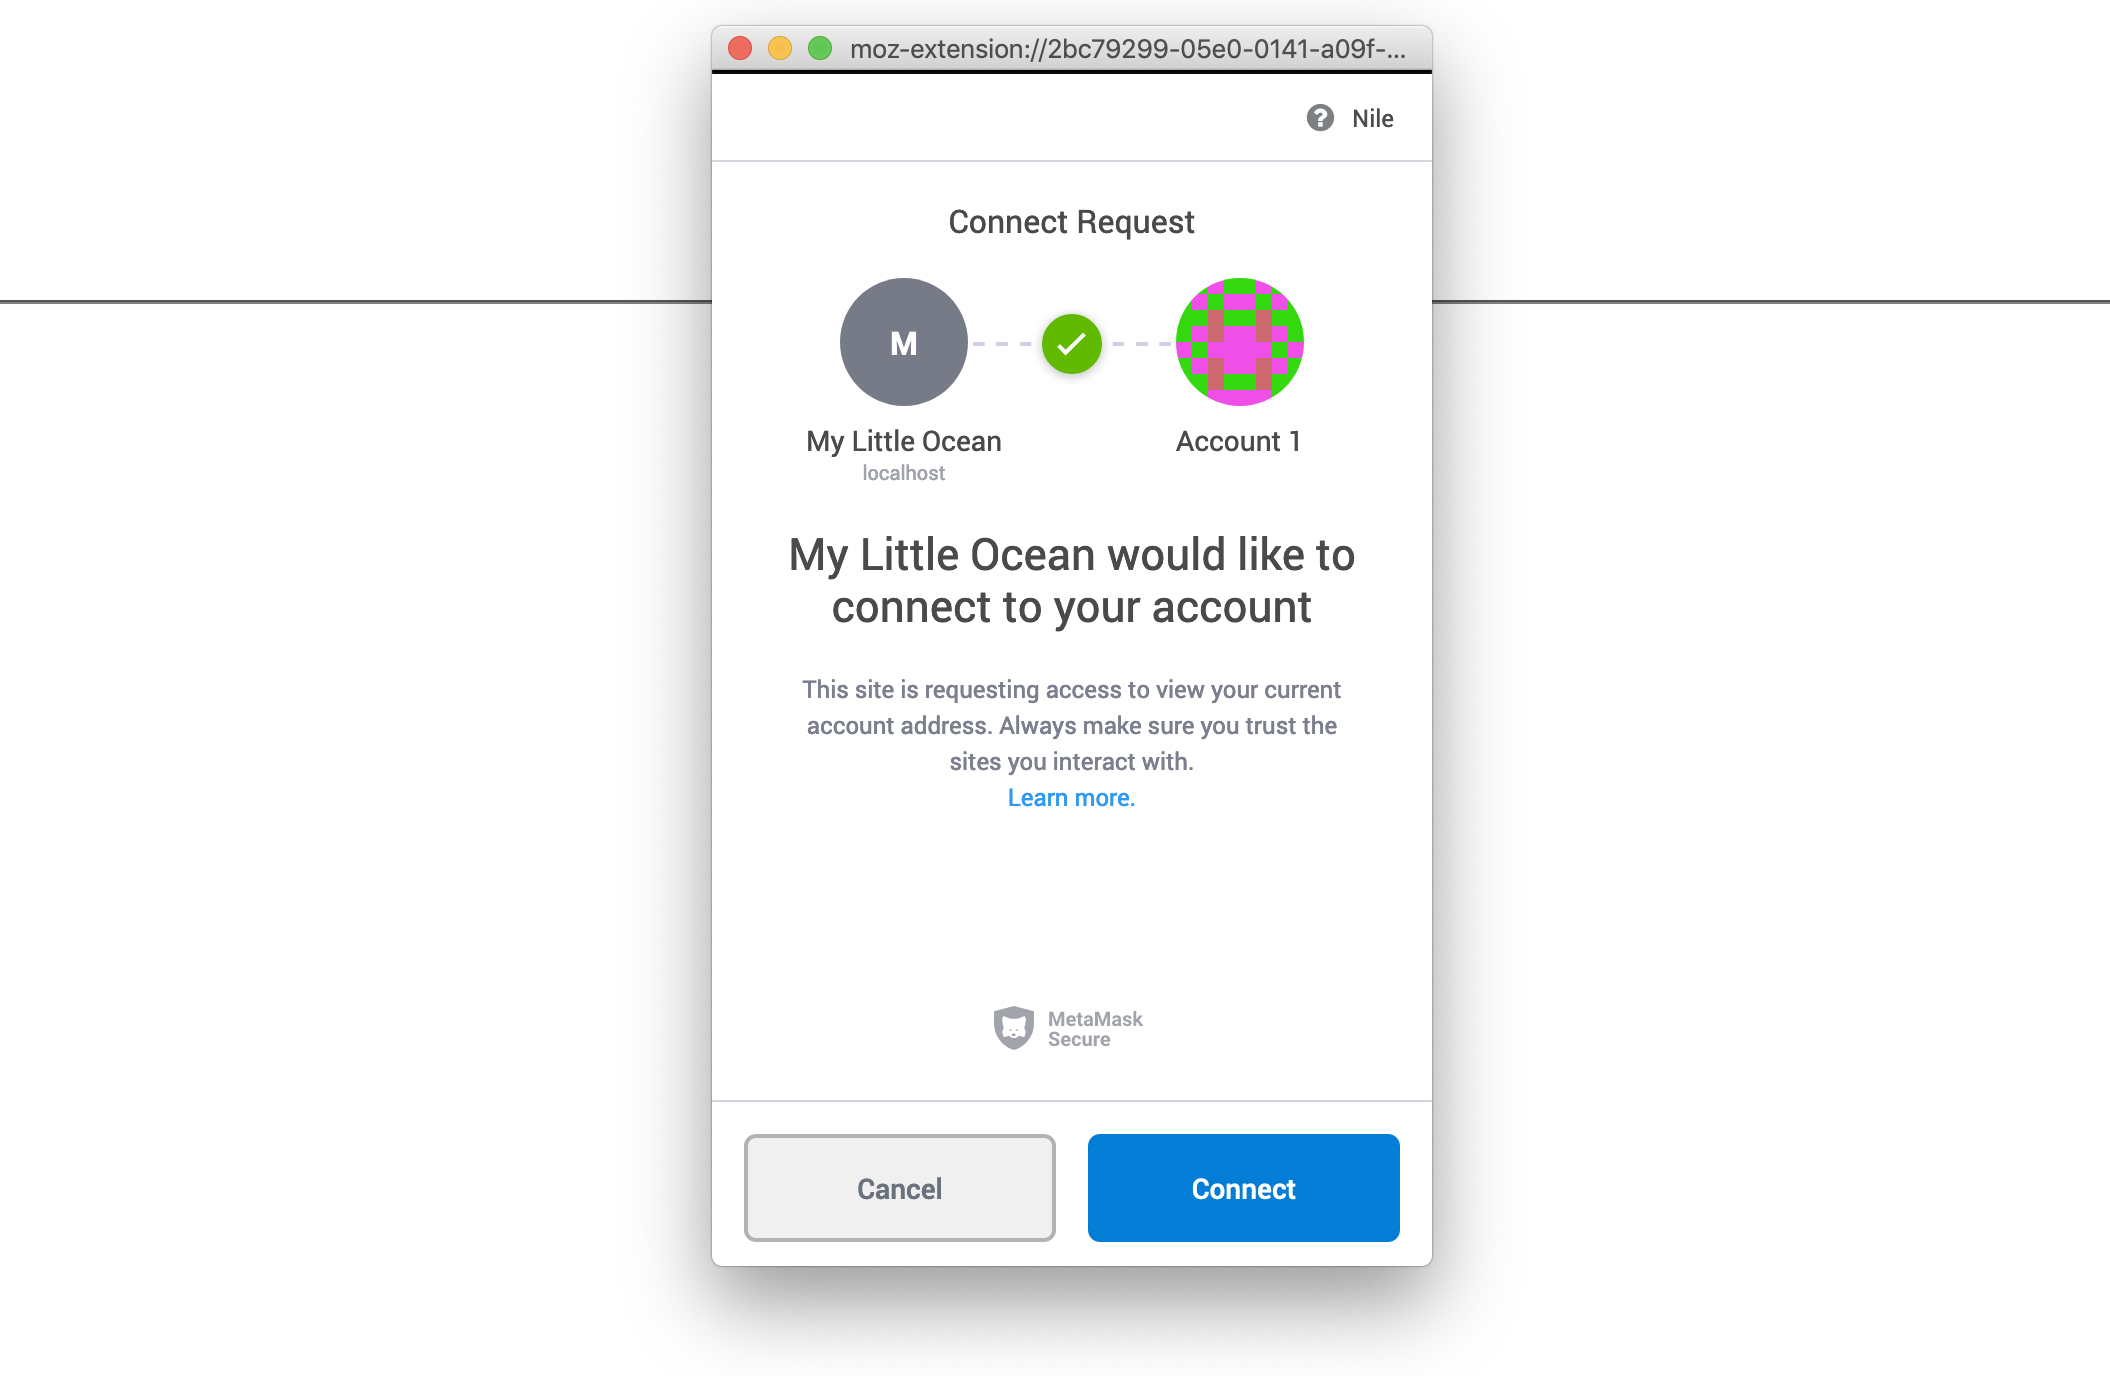
After those steps go to your browser. You should see MetaMask asking you to allow access to your account:
Note: If you see an error like
inpage.js:1 MetaMask - RPC Error: Internal JSON-RPC error.in your browser console, don't worry about it. It's a MetaMask thing and won't affect functionality.
Create Ocean Instance
Now that we are successfully connected with Web3, we can set up our Ocean instance.
At the beginning of your component, create a new Ocean instance with all required endpoint configurations within the componentDidMount lifecycle method. All Ocean Protocol operations can be executed from this Ocean instance.
GITHUB-EMBED e639e9ed44/src/index.js jsx 15-16,19-28,35-39 GITHUB-EMBED
This will initiate a connection to all Ocean components in Nile, load the contracts, and finally store the Ocean object in the local component state for reuse.
We also set the verbose option of squid-js so we better see what's going on.
Final Result
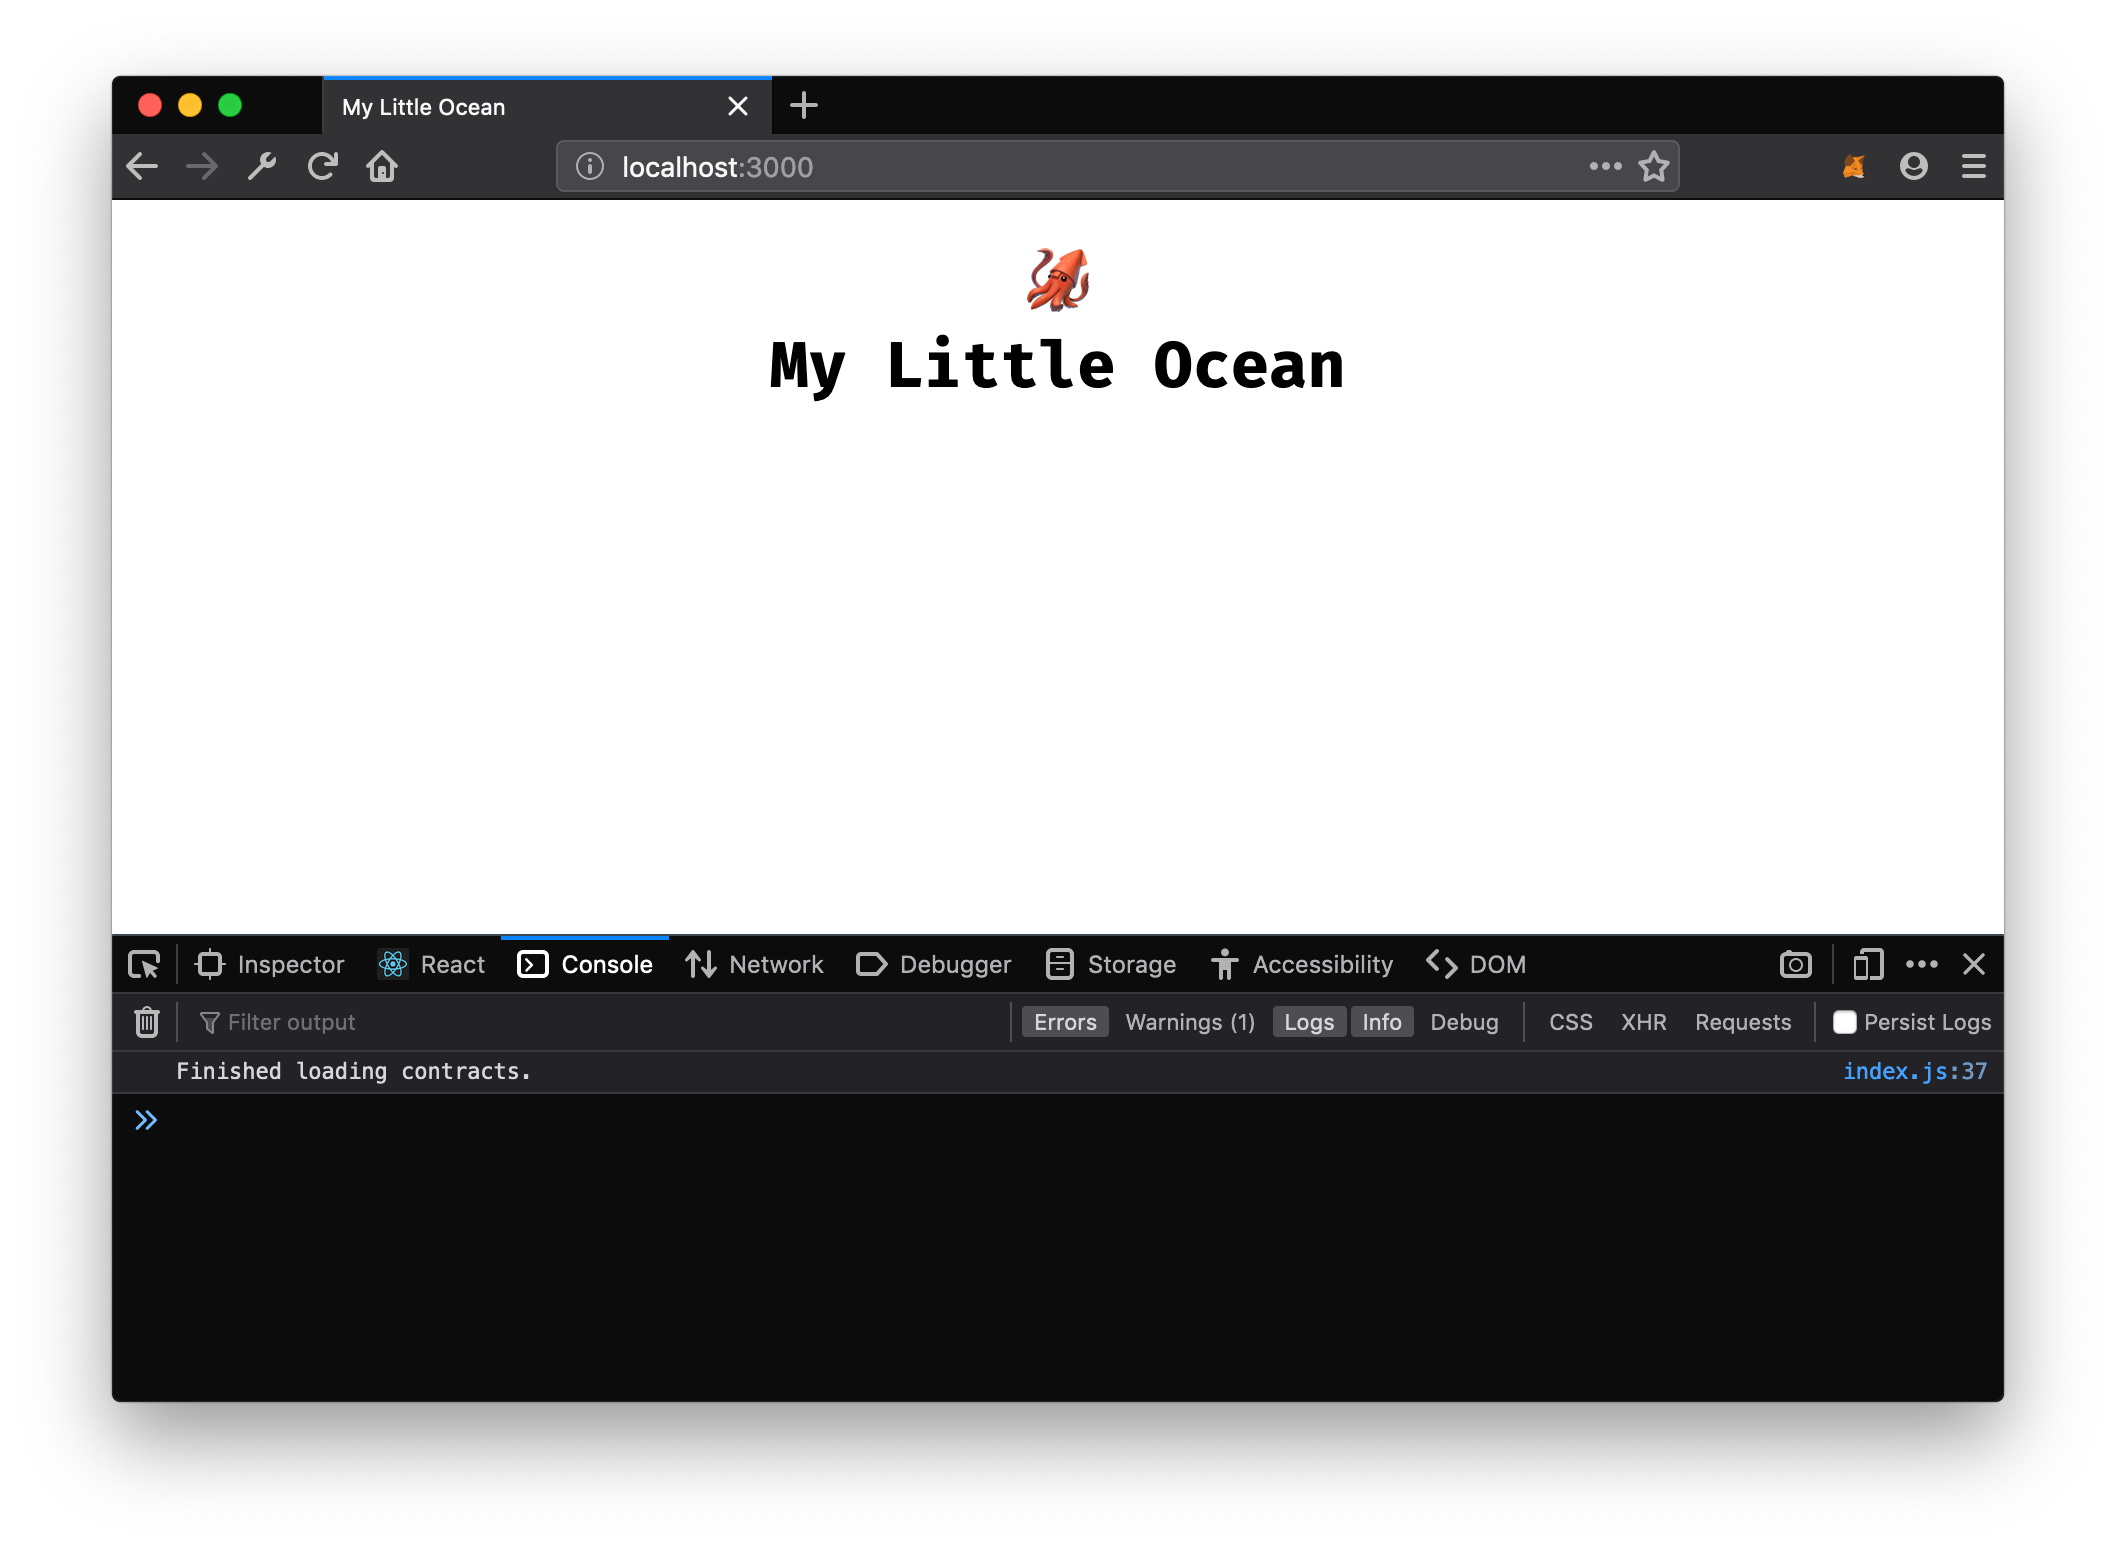
That's it, if you have no errors in your console.log then you have successfully initialized an Ocean instance in your brand new React app and you are ready for the next part of this tutorial.
Here is the full source of src/index.js that you should have if you followed this tutorial:
GITHUB-EMBED 2765a7e6ae/src/index.js jsx 1-4,6-16,18-27,34-38,96-109,119-124 GITHUB-EMBED
Move on to Publish a Data Set.
Bonus: Connect against local Spree network
Spree, a local Ocean test network, can be used instead of remotely connecting to Nile. For this you first have to get up the Spree network by using oceanprotocol/barge.
Run Spree with Barge
Clone the barge repository and use its startup script:
git clone https://github.com/oceanprotocol/barge.git
cd barge/

./start_ocean.sh --no-commons
Note that compiling and deploying the contracts in your local Docker network takes some time so it can take a few minutes until the network is ready to be interacted with. That usually is the case once keeper-contracts_1 container doesn't show any messages anymore.
Copy Contract Artifacts
At the end of the contract compiling and deploying you need to copy the resulting Spree contract artifacts from the Docker container to your local @oceanprotocol/keeper-contracts dependency folder. The keeper-contracts Docker container will output all artifacts in a hidden folder in your home folder so you can copy from there:
cp ~/.ocean/keeper-contracts/artifacts/* ./node_modules/@oceanprotocol/keeper-contracts/artifacts/
Get Spree Ether
You will also need some Spree Ether in your MetaMask account. You can execute this, replacing <YOUR ADDRESS> with your MetaMask account address:
curl --data '{"address": "<YOUR ADDRESS>", "agent": "curl"}' -H "Content-Type: application/json" -X POST http://localhost:3001/faucet
Adjust App Config
Finally, move back to your marketplace React app and modify the Ocean instance config in src/index.js to use the Spree endpoints:
const ocean = await new Ocean.getInstance({
  web3Provider: web3,
  nodeUri: 'http://localhost:8545',
  aquariusUri: 'http://aquarius:5000',
  brizoUri: 'http://localhost:8030',
  brizoAddress: '0x00bd138abd70e2f00903268f3db08f2d25677c9e',
  secretStoreUri: 'http://localhost:12001',
  verbose: true
})
If you are on macOS, you need to additionally tweak your
/etc/hostsfile so Brizo can connect to Aquarius within Docker. This is only required on macOS and is a known limitation of Docker for Mac:sudo vi /etc/hosts # add this line, and save 127.0.0.1 aquariusAnd then use
aquariusUri: 'http://aquarius:5000'in your Ocean instance config.
Then start up the app as usual:
npm start
Move on to Publish a Data Set.


