5.3 KiB
| title | description |
|---|---|
| Role-Based Access Control Server | Control who can publish, consume or browse data |
The primary mechanism for restricting your users ability to publish, consume, or browse is the role-based access (RBAC) control server.
Roles
The RBAC server defines four different roles:
- Admin
- Publisher
- Consumer
- User
Admin/ Publisher
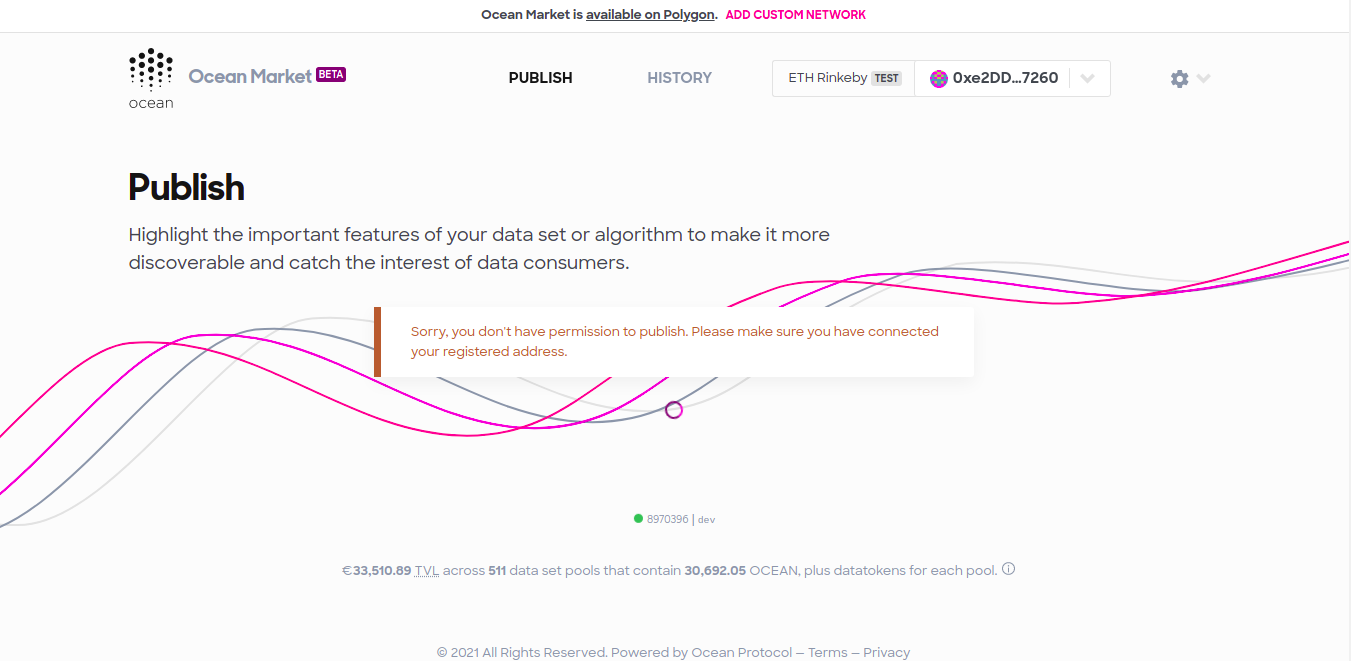
Currently users with either the admin or publisher roles will be able to use the Market without any restrictions. They can publish, consume and browse datasets.
Consumer
A user with the consumer is able to browse datasets, purchase them, trade datatokens and also contribute to datapools. However, they are not able to publish datasets.
Users
Users are able to browse and search datasets but they are not able to purchase datasets, trade datatokens, or contribute to data pools. They are also not able to publish datasets.
Address without a role
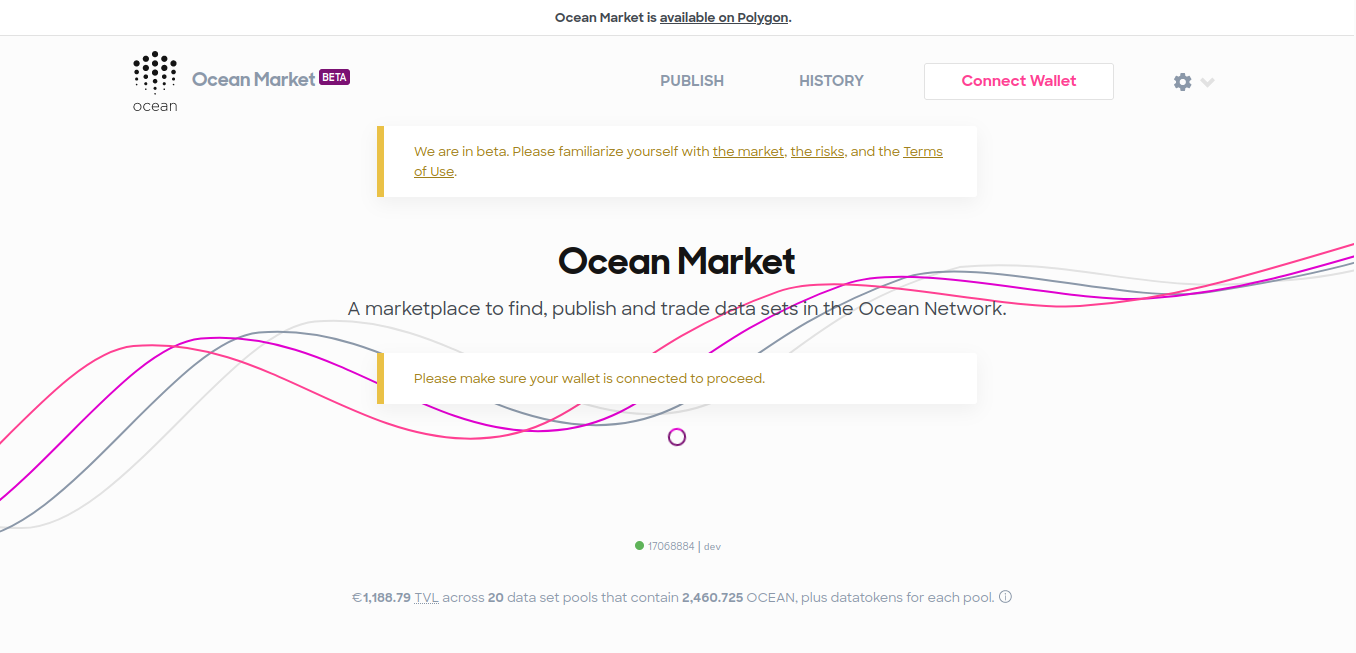
If a user attempts to view the data market without a role, or without a wallet connected, they will not be able to view or search any of the datasets.
No wallet connected
When the RBAC server is enabled on the market, users are required to have a wallet connected to browse the datasets.
Mapping roles to addresses
Currently the are two ways that the RBAC server can be configured to map user roles to Ethereum addresses. The RBAC server is also built in such a way that it is easy for you to add your own authorization service. They two existing methods are:
- Keycloak
If you already have a Keycloak identity and access management server running you can configure the RBAC server to use it by adding the URL of your Keycloak server to the KEYCLOAK_URL environmental variable in the RBAC .enb file.
- JSON
Alternatively, if you are not already using Keycloak, the easiest way to map user roles to ethereum addresses is in a JSON object that is saved as the JSON_DATA environmental variable in the RBAC .env file. There is an example of the format required for this JSON object in .example.env
It is possible that you can configure both of these methods of mapping user roles to Ethereum Addresses. In this case the requests to your RBAC server should specify which auth service they are using e.g. "authService": "json" or "authService": "keycloak"
Default Auth service
Additionally, you can also set an environmental variable within the RBAC server that specifies the default authorization method that will be used e.g. DEFAULT_AUTH_SERVICE = "json". When this variable is specified, requests sent to your RBAC server don't need to include an authService and they will automatically use the default authorization method.
Running the RBAC server locally
You can start running the RBAC server by following these steps:
- Clone this repository:
git clone https://github.com/oceanprotocol/RBAC-Server.git
cd RBAC-Server
- Install the dependencies:
npm install
- Build the service
npm run build
- Start the server
npm run start
Running in Docker
When you are ready to deploy the RBAC server to
- Replace the KEYCLOAK_URL in the Dockerfile with the correct URL for your hosting of Keycloak.
- Run the following command to build the RBAC service in a Docker container:
npm run build:docker
- Next, run the following command to start running the RBAC service in the Docker container:
npm run start:docker
- Now you are ready to send requests to the RBAC server via postman. Make sure to replace the URL to
http://localhost:49160in your requests.
Setting up the RBAC in the Market
To use the RBAC server with the market you need to save the URL of your RBAC server as an env within the market.
- First setup and host the Ocean role based access control (RBAC) server. Follow the instructions in the RBAC repository
- In your .env file in your fork of Ocean Market, set the value of the
GATSBY_RBAC_URLenvironmental variable to the URL of the Ocean RBAC server that you have hosted, e.g.GATSBY_RBAC_URL= "http://localhost:3000" - Users of your marketplace will now require the correct role ("user", "consumer", "publisher") to access features in your marketplace. The market will check the role that has been allocated to the user based on the address that they have connected to the market with.
- The following features have been wrapped in the
Permissioncomponent and will be restricted once theGATSBY_RBAC_URLhas been defined:- Viewing or searching datasets requires the user to have permission to
browse - Purchasing or trading a datatoken, or adding liquidity to a pool require the user to have permission to
consume - Publishing a dataset requires the user to have permission to
publish
- Viewing or searching datasets requires the user to have permission to
- You can change the permission restrictions by either removing the
Permissioncomponent or passing in a different eventType prop e.g.<Permission eventType="browse">.


