All Troy's content revisions made on 11-11-2018
docs
🐍 Ocean Protocol's official documentation.
These docs are meant to be viewed on docs.oceanprotocol.com. You can still browse them here but links or images might not work in some places.
If you want to contribute to those docs, then read on here.
Content
The documentation is split in multiple sections whose content lives in this repo:
- Core concepts: high-level explanation of concepts, assumptions, and components
- Setup: getting started for various stakeholders and use cases
- Tutorials: detailed tutorials
Those sections are defined in the /data/sections.yml file.
Content files
All content lives in the /content & /data folders utilizing GitHub Flavored Markdown and YAML. Content is organized through subfolders corresponding to the sections mentioned above. Those subfolder names, along with the file name, define the final url of a given piece of content.
The final navigational organisation of the content is driven through the sidebar files under /data/sidebars. Some global values used throughout the site can be set in config.js.
Have a look at docs.oceanprotocol.com/test/ to see what content elements can be used in the docs.
TODO: Additionally, these docs live in their respective repos and are pulled into this site on build time:
- API references
- Component docs
Editing docs
Every article on docs.oceanprotocol.com ends with an Edit this page on GitHub link. Clicking that will put you to the right place in the repository from where you can hit the Edit pencil icon on GitHub.
GitHub will automatically fork the repository if you are not part of the oceanprotocol organisation on GitHub. Members can simply push to a new branch on the original repo.
The editing workflow is as follows:
- Make your changes
- Push your changes to a new branch in the repo, or in your fork
- Open a pull request against
master, automatically asking for review - Wait for review, possibly make requested changes
- Wait for all checks to pass
- Merge!
Adding docs
- Add new Markdown file under one of the folders under
/content - Add new path to one of the sidebars in
/data/sidebars - ...
Repositories
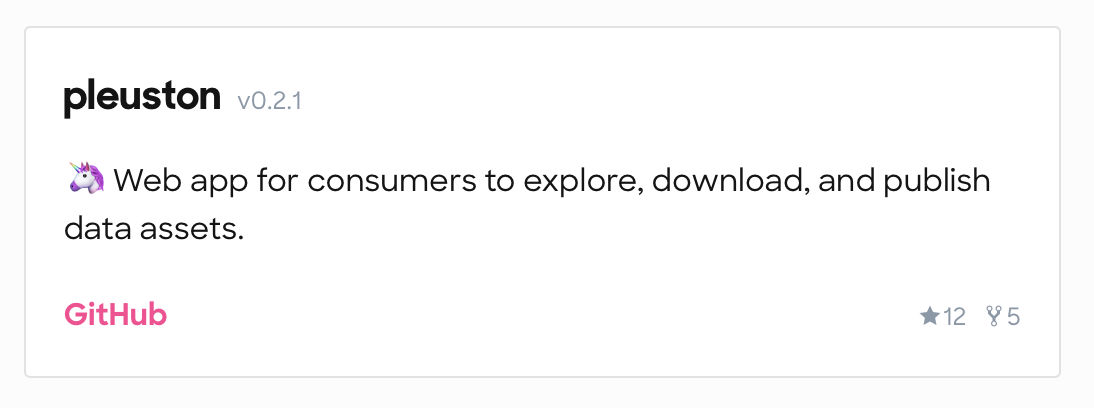
The repositories list is currently sourced from the /data/repositories.yml file, defining the grouping, the display order, and which repos to include.
Including a repo requires only the name key and value, and it needs to be exactly the same as the repo name on GitHub:
- name: pleuston
Additional information about a repo will then be fetched automatically via GitHub's GraphQL API on build time, and re-fetched every 5 minutes on client side. You can also add a private repo to prepare for a release, it will show up as soon as it is made public on GitHub.
The above example will result in:

This repository component can also be used within any Markdown content like so:
<repo name="pleuston"></repo>
Additionally, you can attach multiple links to a repo. The GitHub link is automatically added for every repository and will always be displayed. Add more links like so:
- name: keeper-contracts
  links:
      - name: Documentation
        url: https://github.com/oceanprotocol/keeper-contracts/tree/develop/doc
Development
The site is a React app built with Gatsby, pulling its content from various sources.
As a prerequisite you'll need on your machine:
- Node.js
- npm
Clone this repo, install all dependencies, and start the development server:
git clone git@github.com:oceanprotocol/docs.git
cd docs/

# add GITHUB_TOKEN
cp .env.sample .env
vi .env

npm i
npm start
For getting your GITHUB_TOKEN, see GitHub GraphQL API
This will start a hot-reloading local server exposed under localhost:8000.
Use Docker
Alternatively, you can use Docker for which you need to have installed on your machine:
- Docker
- Docker Compose
GITHUB_TOKENin.env, see GitHub GraphQL API
Then use Compose to bring everything up:
docker-compose up
This will expose a hot-reloading server under localhost:8000.
GitHub GraphQL API
The GitHub GraphQL API integration is done through gatsby-source-graphql and requires authorization.
An environment variable GITHUB_TOKEN needs to present, filled with a personal access token with the scope public_repo.
For local development, you can simply create a personal access token and use it in your local .env file:
cp .env.sample .env
vi .env
# GITHUB_TOKEN=add_your_token_here
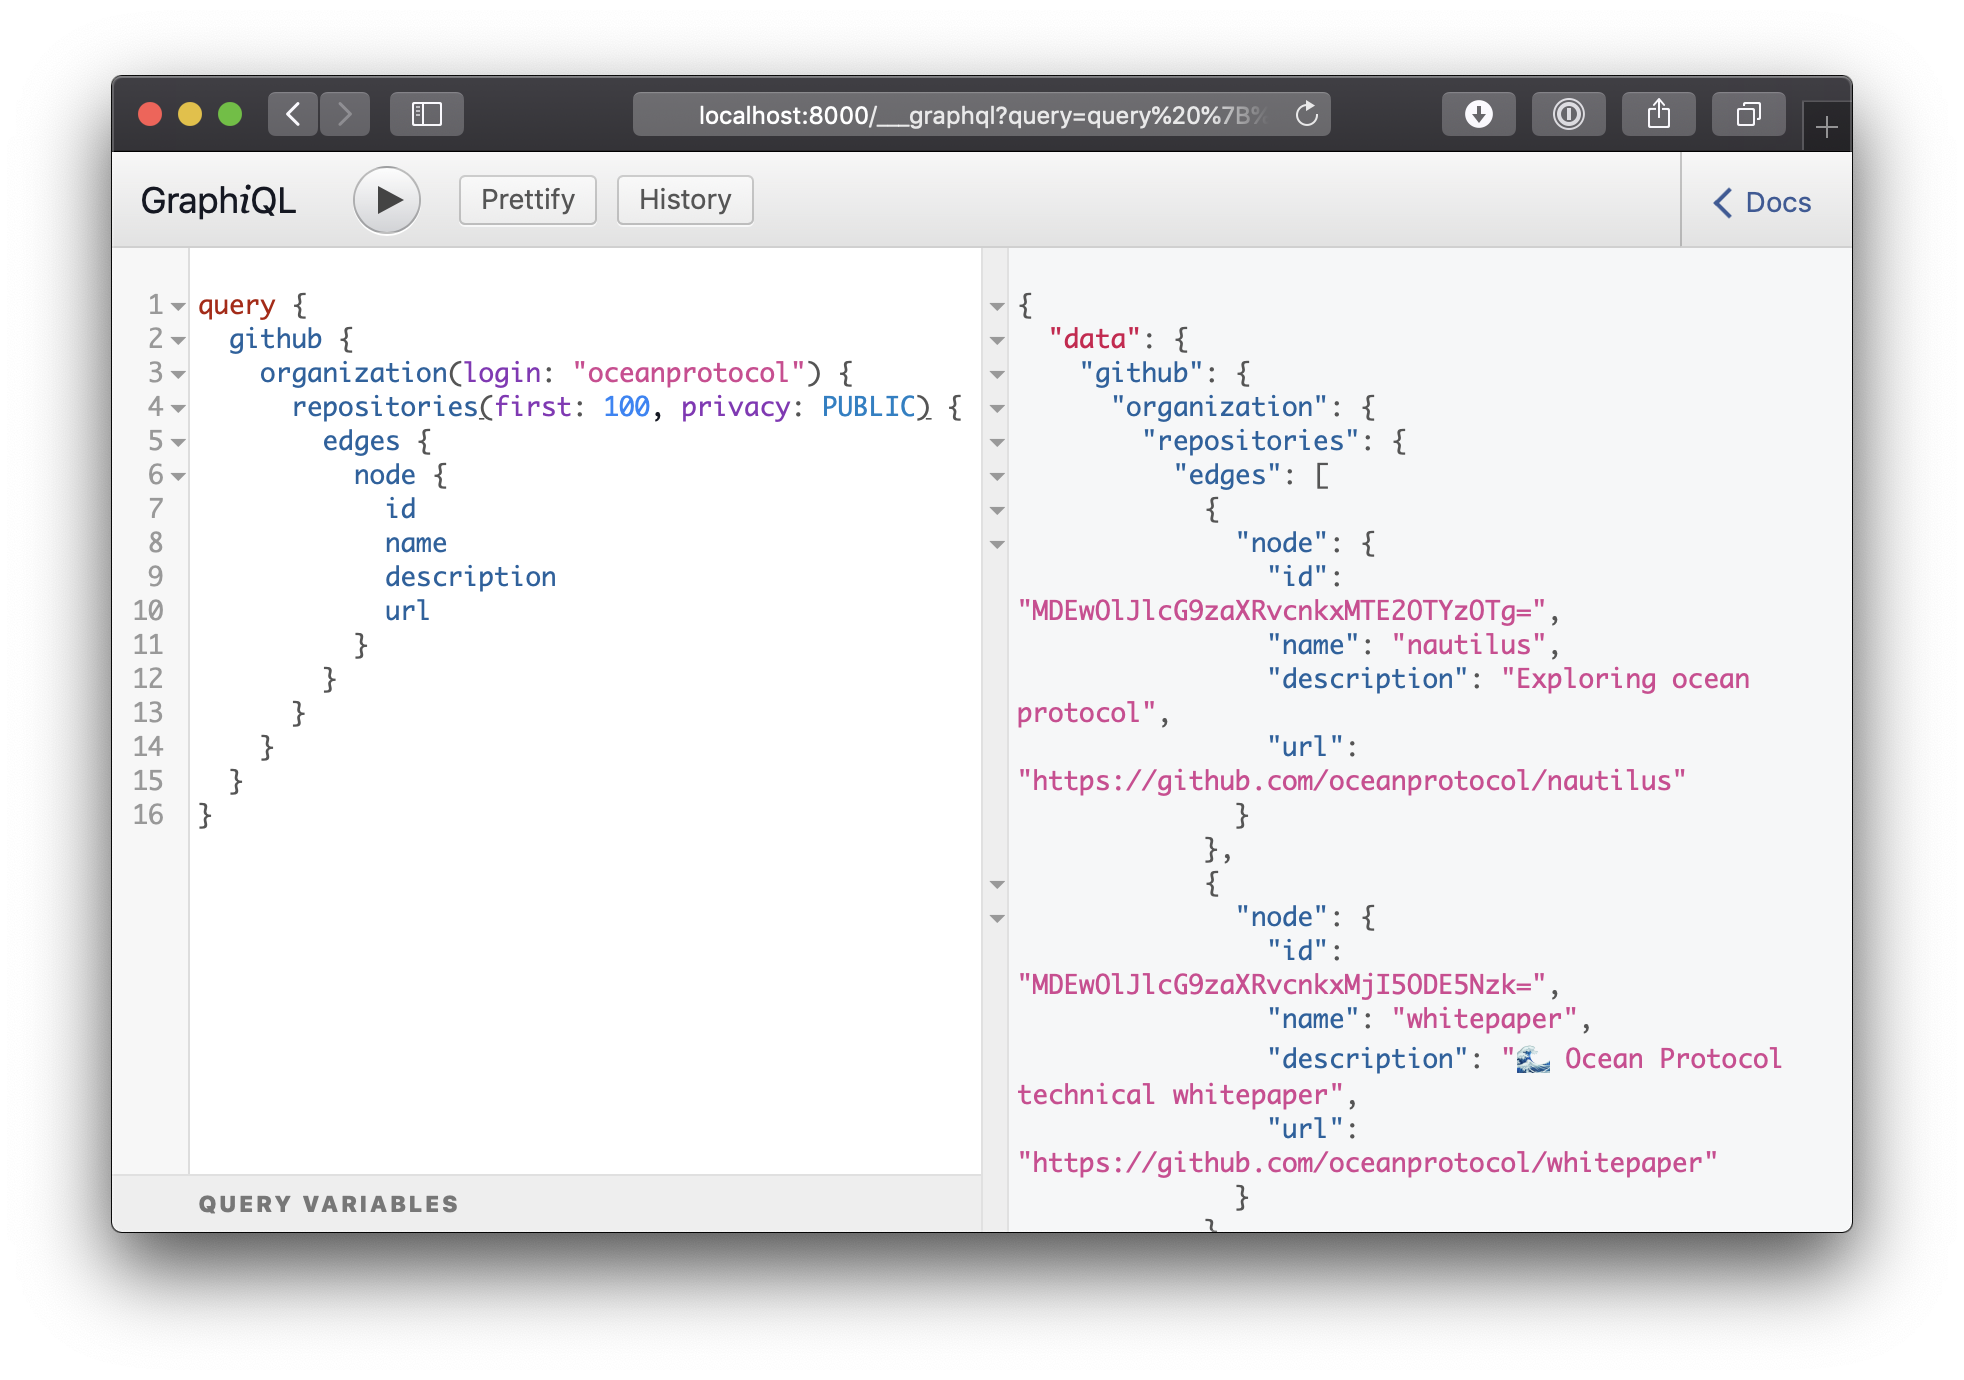
When running the site locally, you can use the GraphiQL client running under localhost:8000/___graphql to explore the whole GraphQL layer of the site (not just the GitHub infos).

This query should get you started to explore what information you can get from GitHub:
query {
    github {
        organization(login: "oceanprotocol") {
            repositories(first: 100) {
                edges {
                    node {
                        name
                        description
                        url
                    }
                }
            }
        }
    }
}
Authors
- Troy McConaghy (@ttmc) - Ocean Protocol
- Matthias Kretschmann (@kremalicious) - Ocean Protocol
License
Copyright 2018 Ocean Protocol Foundation Ltd.

Licensed under the Apache License, Version 2.0 (the "License");
you may not use this file except in compliance with the License.
You may obtain a copy of the License at

   http://www.apache.org/licenses/LICENSE-2.0

Unless required by applicable law or agreed to in writing, software
distributed under the License is distributed on an "AS IS" BASIS,
WITHOUT WARRANTIES OR CONDITIONS OF ANY KIND, either express or implied.
See the License for the specific language governing permissions and
limitations under the License.


