---
title: React App Setup
description: This tutorial shows how you can build a basic [React](https://reactjs.org/) app with [Create React App](https://github.com/facebook/create-react-app) that uses the squid-js JavaScript package to publish a data set, get a data set, and more.
---
## Requirements
- `Node.js` >= 10 is installed. You can check using `node -v`
- `npm` >= 5.2 is installed. You can check using `npm -v`
- [Docker](https://www.docker.com/products/docker-desktop) & [Docker Compose](https://docs.docker.com/compose/install/)
- A Web3 capable browser, like Firefox/Chrome with [MetaMask](https://metamask.io) installed
- `Spree`, a local Ocean test network
- Git clone the [oceanprotocol/barge](https://github.com/oceanprotocol/barge) repository, then in that directory:
- (Optional but recommended) Clean out all your old Docker stuff using `docker system prune --all --volumes`
- Use the startup script in Barge to run a [local Spree Testnet](https://docs.oceanprotocol.com/concepts/testnets/#a-spree-testnet-for-local-development):
```bash
export KEEPER_VERSION=v0.9.1 && \
export AQUARIUS_VERSION=v0.2.2 && \
export BRIZO_VERSION=v0.3.5 && \
./start_ocean.sh --no-pleuston
```
- Note that compiling and deploying the contracts in your local Docker network takes some time so it can take a few minutes until the network is ready to be interacted with. That usually is the case once `keeper-contracts_1` container doesn't show any messages anymore.
- [Some `Spree` Ether](/tutorials/get-ether-and-ocean-tokens/#get-ether-for-a-local-spree-testnet) in your MetaMask account. You can execute this, replacing `<YOUR ADDRESS>` with your MetaMask account address:
```bash
curl --data '{"jsonrpc":"2.0","method":"personal_sendTransaction","params":[{"from":"0x00Bd138aBD70e2F00903268F3Db08f2D25677C9e","to":"<YOUR ADDRESS>","value":"0x7FFFFFFFFFFFFFFFFFF"}, "node0"],"id":0}' -H "Content-Type: application/json" -X POST localhost:8545
```
## New Create React App
First, kickstart your new React app by creating a boilerplate with Create React App:
```bash
npx create-react-app marketplace
```
This will create a folder named `marketplace` with a boilerplate React app. Go into that new folder and add the [Ocean Protocol JavaScript library](https://github.com/oceanprotocol/squid-js) to the app's dependencies:
```bash
cd marketplace/
npm install @oceanprotocol/squid@0.5.6
```
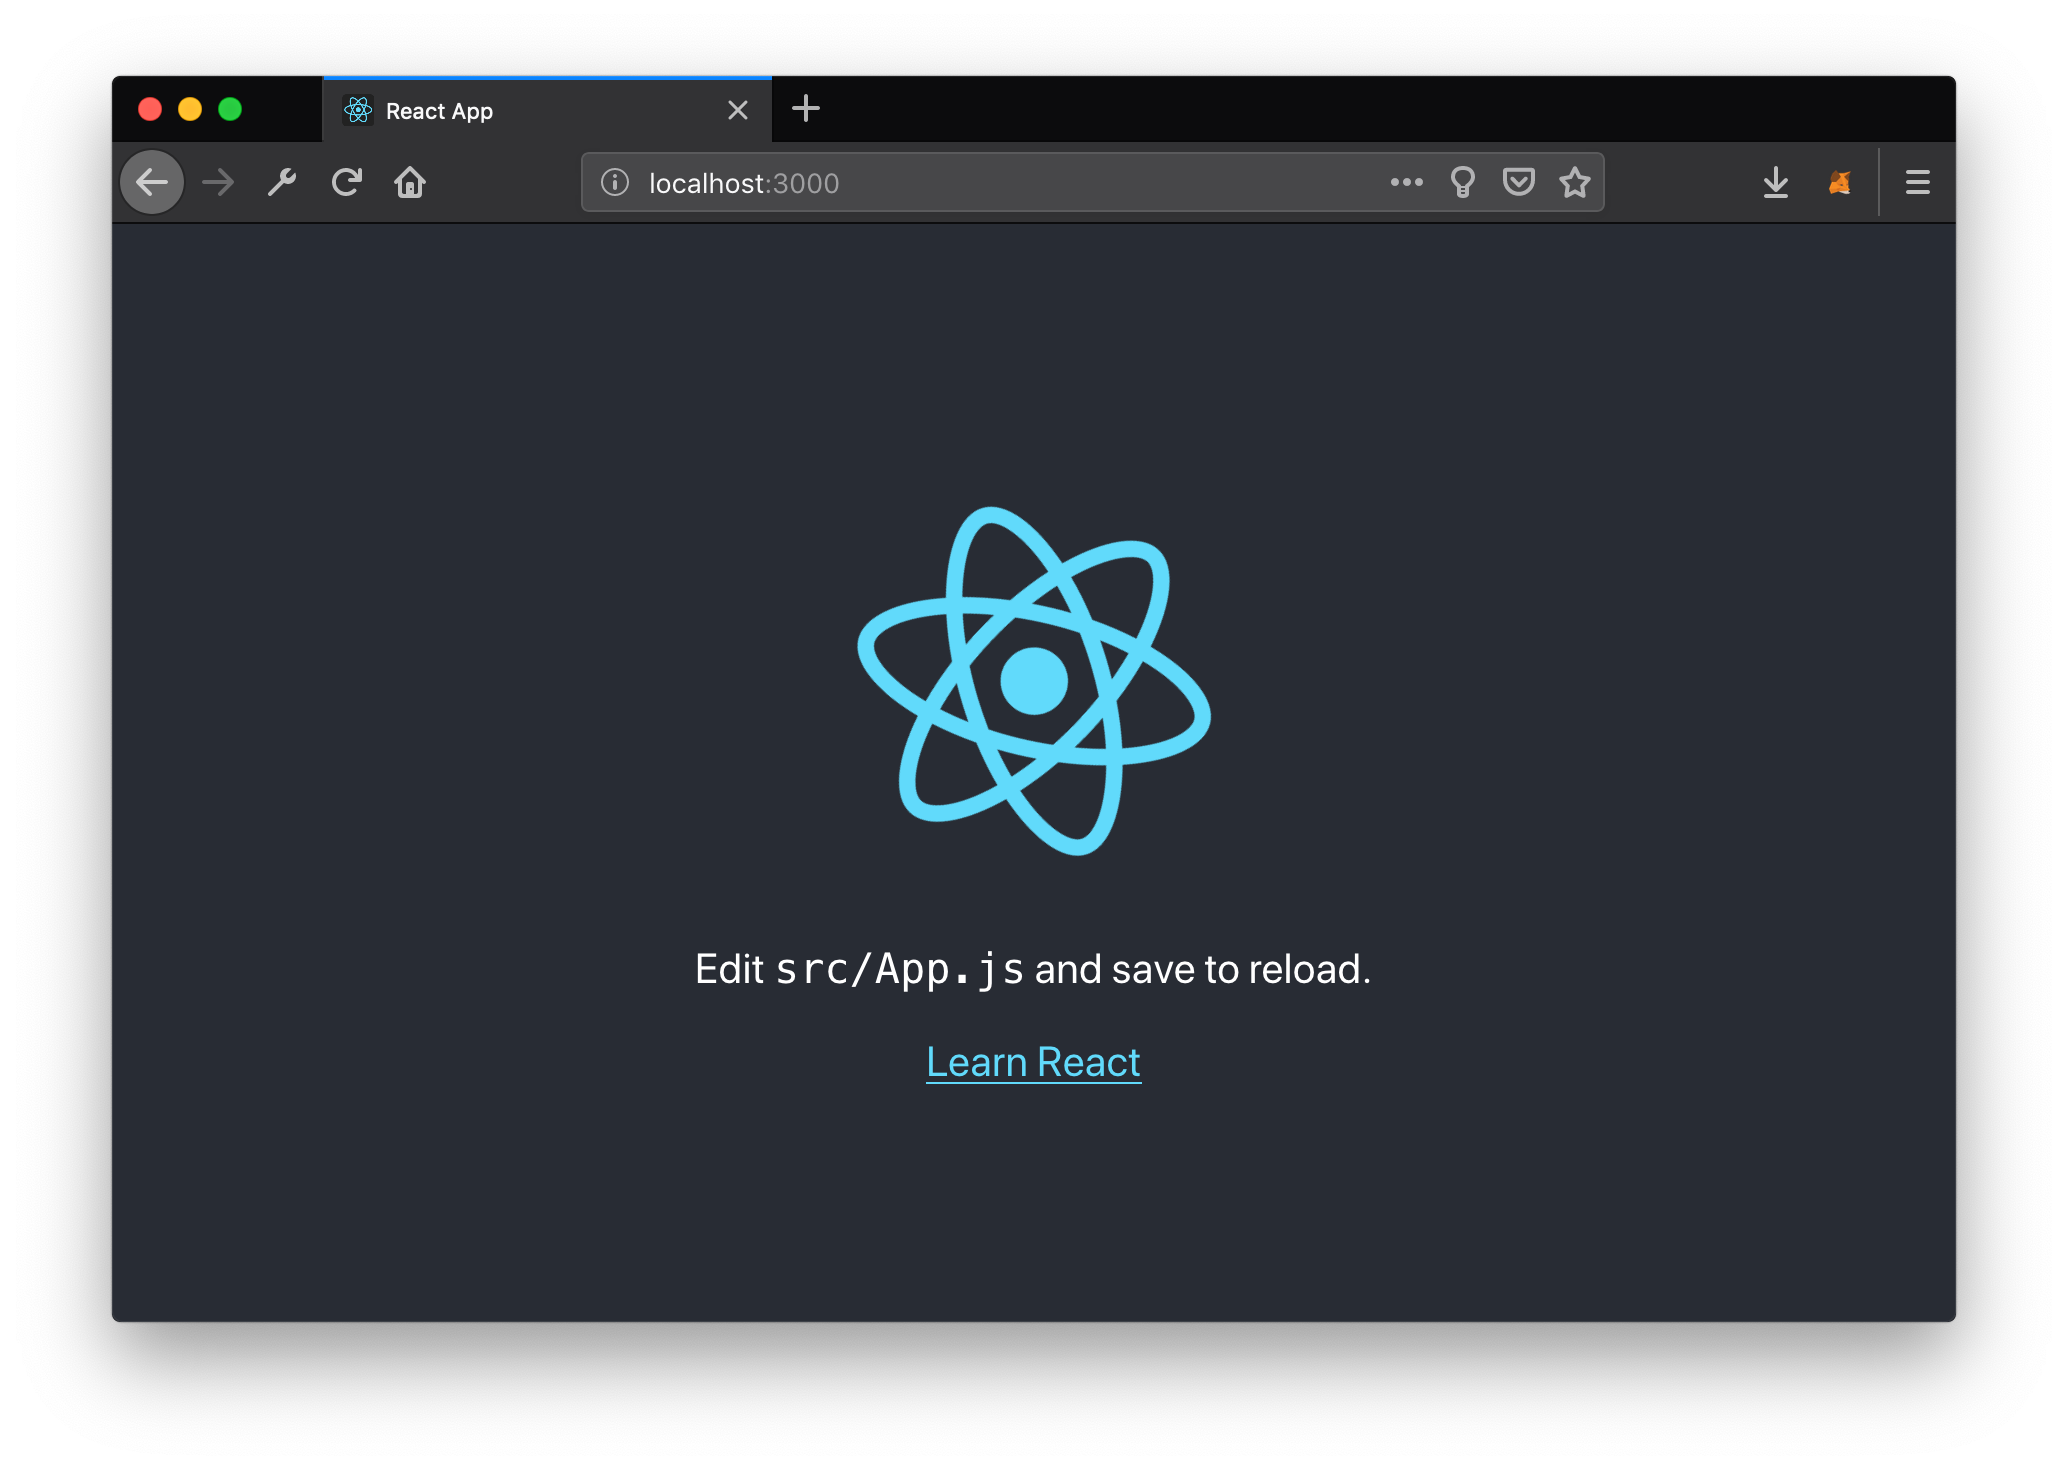
At this point you can already run `npm start` which starts the app in your browser at [localhost:3000](http://localhost:3000):
## Add Markup & Web3
Let's make it ours, open `src/App.js` and replace the whole source with:
```jsx
// src/App.js
import React, { Component } from 'react'
import './App.css'
class App extends Component {
render() {
return (
<div className="App App-header">
<h1>Marketplace app</h1>
</div>
)
}
}
export default App
```
Below the `import './App.css'` line, let's import the packages we installed, set up web3 and unlock MetaMask accounts (if locked):
```js
// src/App.js
import { Ocean } from '@oceanprotocol/squid'
import Web3 from 'web3'
const web3 = new Web3(window.web3.currentProvider)
window.ethereum.enable()
```
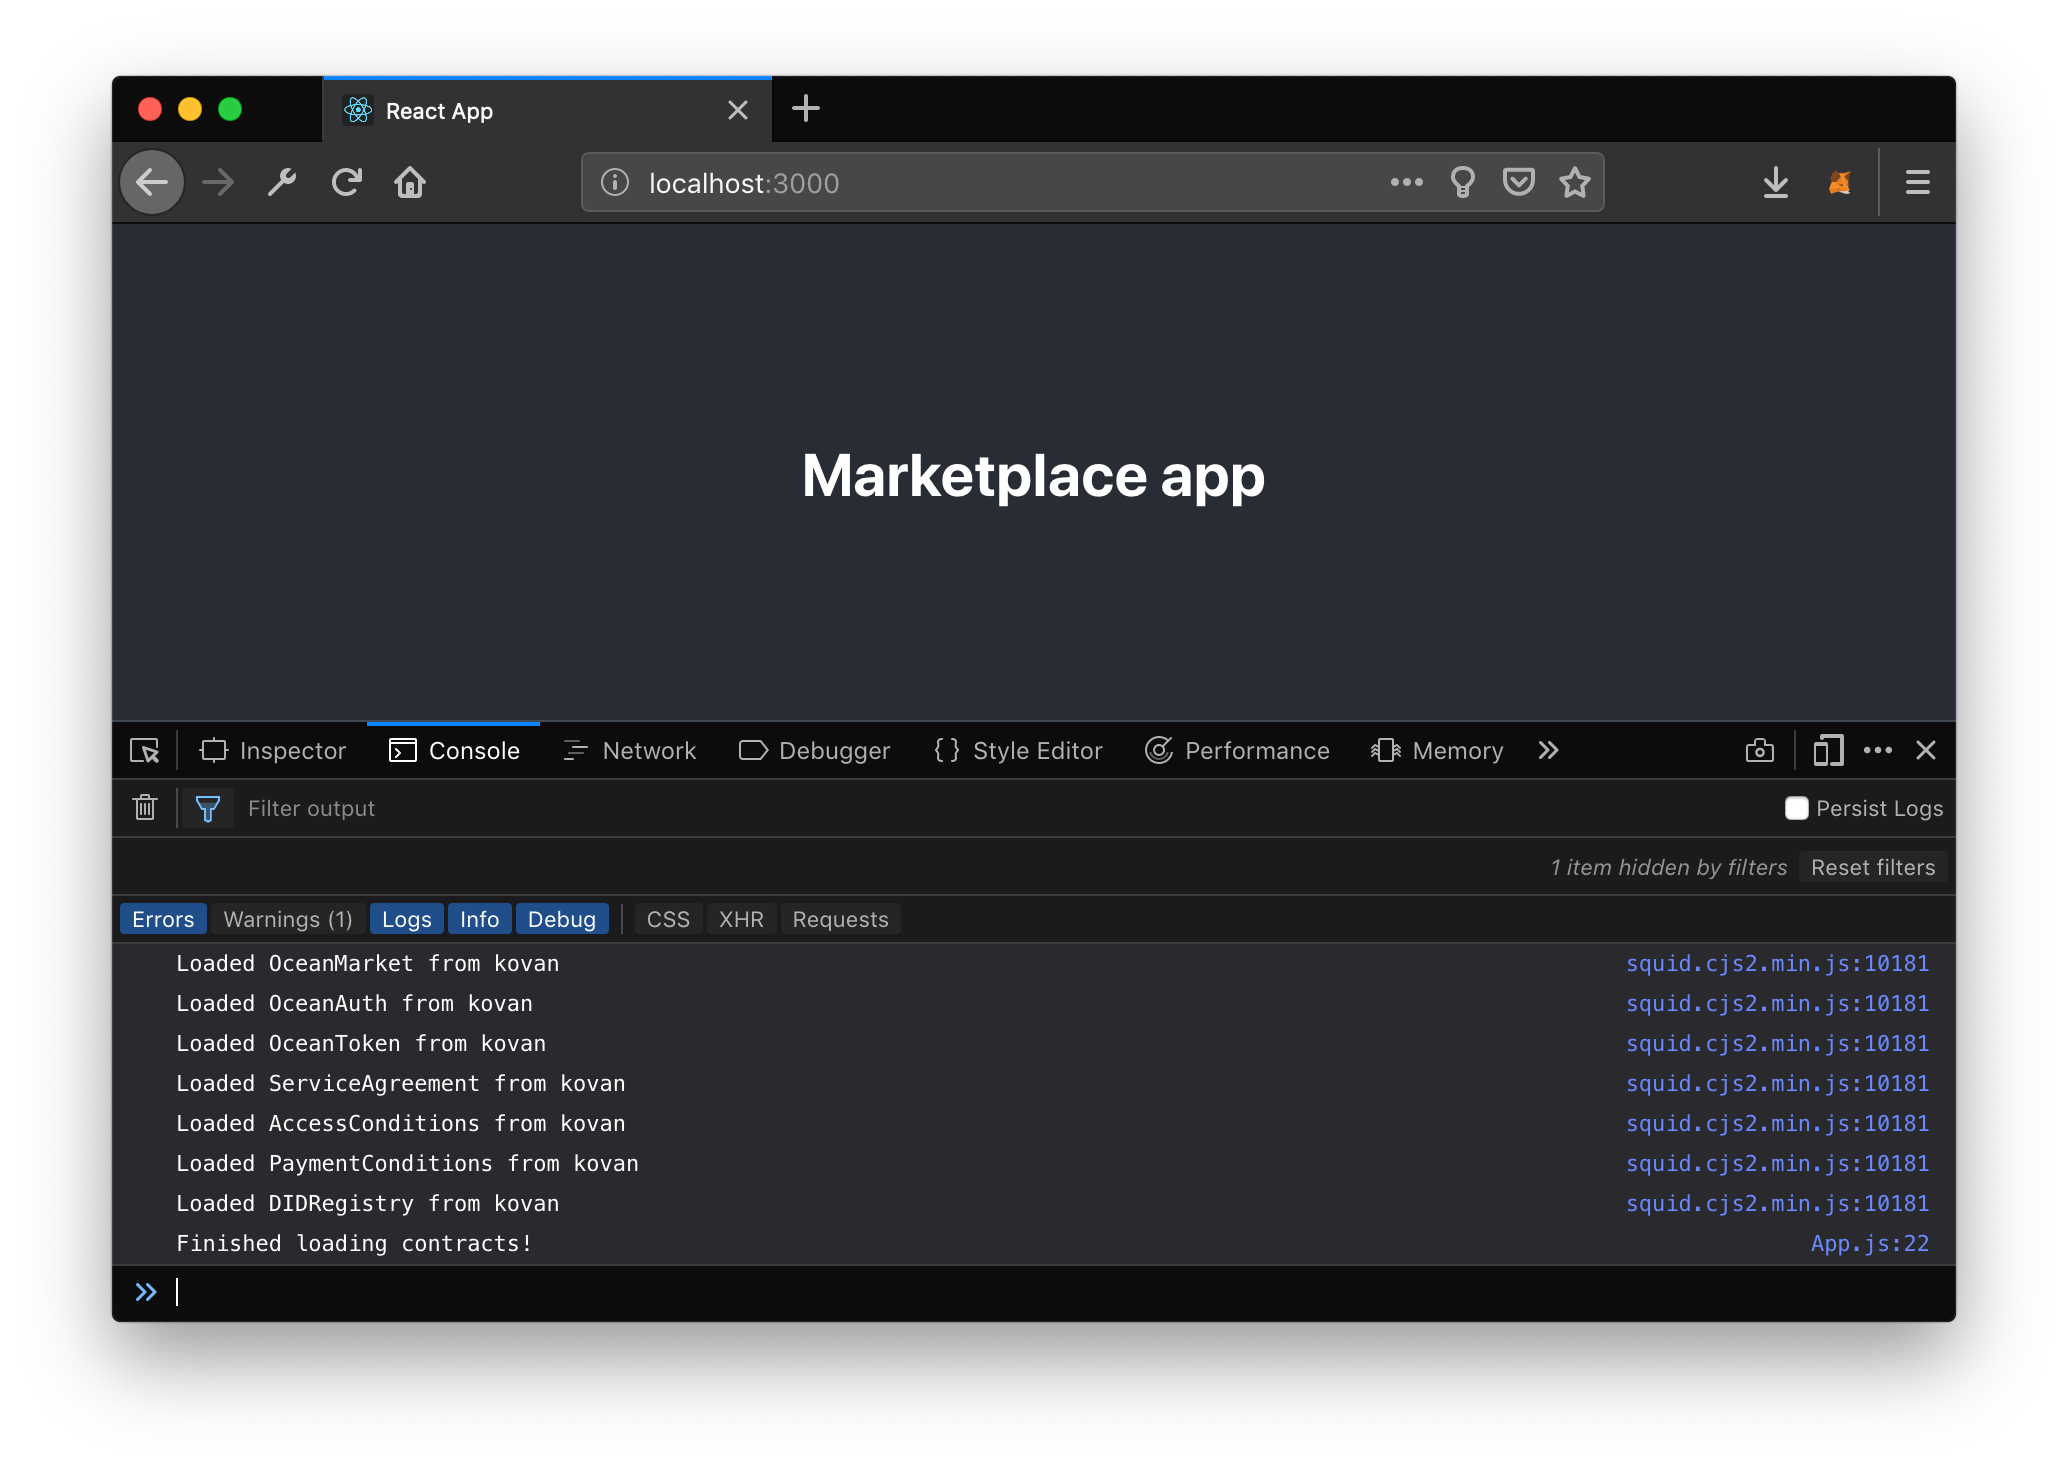
After those steps you should see this, and MetaMask should have asked you to allow access to your account:


> Note: If you see an error like `inpage.js:1 MetaMask - RPC Error: Internal JSON-RPC error.` in your `console.log`, don't worry about it. It's a MetaMask thing.
## Create Ocean Instance
Now that we are successfully connected with Web3, we can set up our Ocean instance.
At the beginning of your component (i.e. right after the `class App extends Component {` line), create a new Ocean instance with all configuration within the `componentDidMount` lifecycle method. All Ocean Protocol operations can be executed from this Ocean instance.
```js
// src/App.js
//...
async componentDidMount() {
this.ocean = await new Ocean.getInstance({
web3Provider: web3,
nodeUri: 'http://localhost:8545',
aquariusUri: 'http://localhost:5000',
brizoUri: 'http://localhost:8030',
brizoAddress: '0x00bd138abd70e2f00903268f3db08f2d25677c9e',
parityUri: 'http://localhost:8545',
secretStoreUri: 'http://localhost:12001'
})
console.log('Finished loading contracts.')
}
//...
```
## Final Result
That's it, if you have no errors in your `console.log` then you have successfully initialized an Ocean instance in your brand new React app and you are ready for the [next part of this tutorial](/tutorials/react-publish-data-set/).
Here is the full source of `src/App.js` that you should have if you followed this tutorial:
```jsx
// src/App.js
import React, { Component } from 'react'
import './App.css'
import { Ocean } from '@oceanprotocol/squid'
import Web3 from 'web3'
const web3 = new Web3(window.web3.currentProvider)
window.ethereum.enable()
class App extends Component {
async componentDidMount() {
this.ocean = await new Ocean.getInstance({
web3Provider: web3,
nodeUri: 'http://localhost:8545',
aquariusUri: 'http://localhost:5000',
brizoUri: 'http://localhost:8030',
brizoAddress: '0x00bd138abd70e2f00903268f3db08f2d25677c9e',
parityUri: 'http://localhost:8545',
secretStoreUri: 'http://localhost:12001'
})
console.log('Finished loading contracts.')
}
render() {
return (
<div className="App App-header">
<h1>Marketplace app</h1>
</div>
)
}
}
export default App
```
Move on to [Publish a Data Set](/tutorials/react-publish-data-set/).