* remove slugify from all select values
* so categories defined in form-publish.json are stored when publishing
* map categories to category images
* add jellyfish background as fallback image
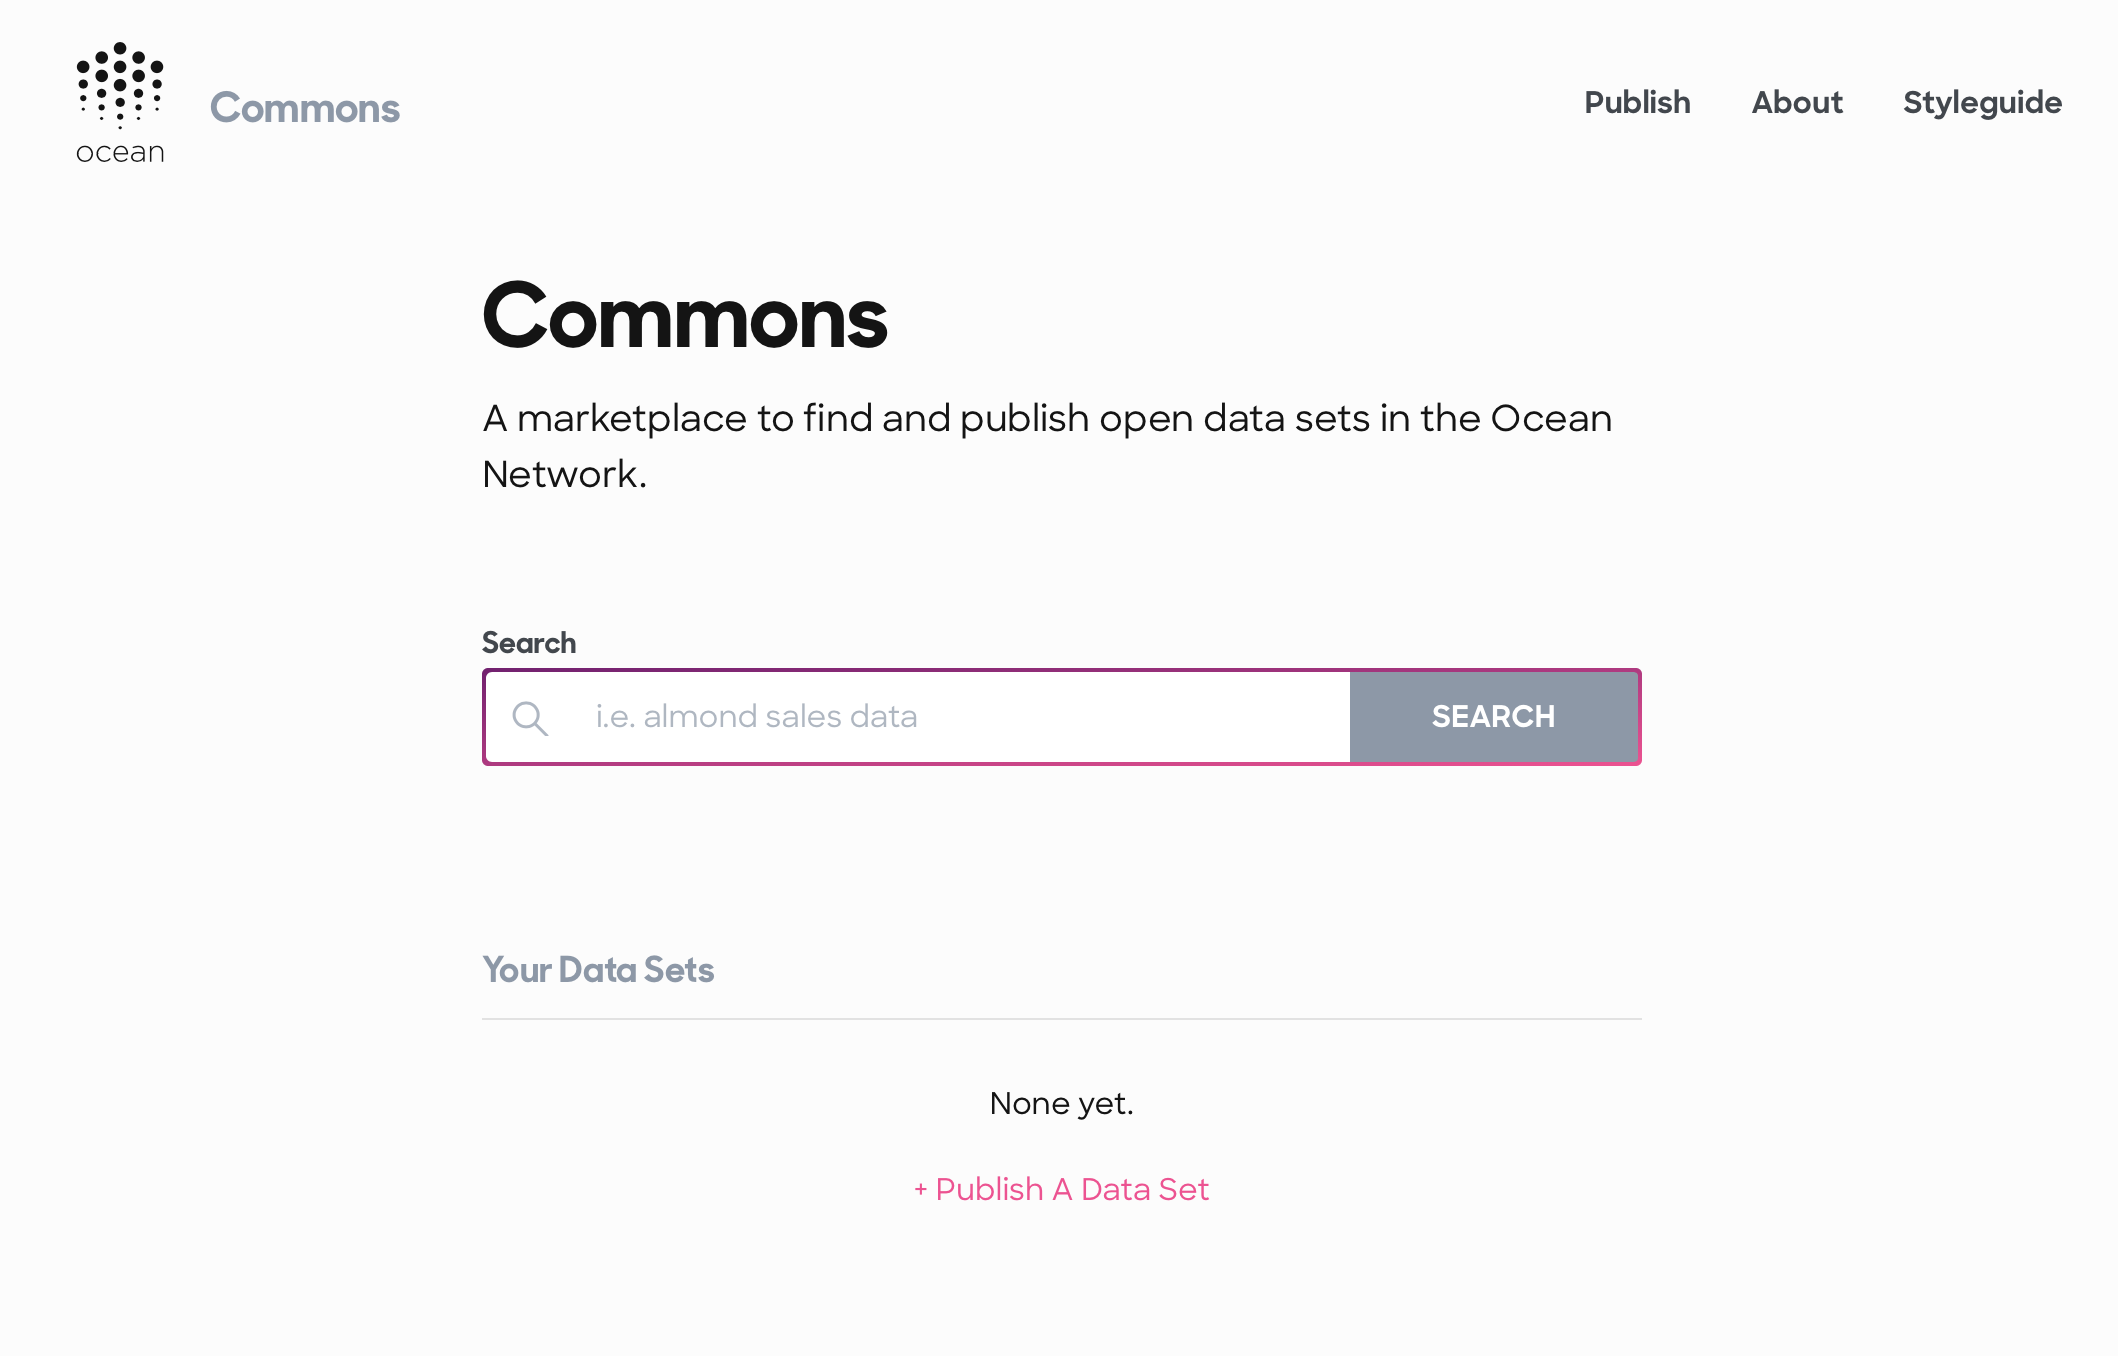
Commons
Marketplace front-end and backend server to explore, download, and publish open data sets. https://commons.oceanprotocol.com
This marketplace is deployed under https://commons.oceanprotocol.com and can be used there. Feel free to report any issues you encounter.
If you're a developer and want to contribute to, or want to utilize this marketplace's code in your projects, then keep on reading.

Get Started
To make use of all the functionality, you need to connect to the Ocean network. By default, the client will connect to Ocean's Nile test network remotely.
This repo contains a client and a server, both written in TypeScript:
- client: React app setup with squid-js, bootstrapped with Create React App
- server: Node.js app, utilizing Express. The server provides various microservices, like remote file checking.
To spin up both, the client and the server in a watch mode for local development, execute:
npm install
npm start
This will run both, client and server in development mode.
Open http://localhost:3000 to view the client in the browser.
The page will reload if you make edits to files in either ./client or ./server.
Use with Barge
If you prefer to connect to locally running components instead of remote connections to Ocean's Nile network, you can spin up barge and use a local network:
git clone git@github.com:oceanprotocol/barge.git
cd barge

./start_ocean.sh --latest --no-pleuston --local-spree-node
Modify ./client/src/config.ts to use those local connections.
Production
To create a production build of both, the client and the server, run from the root of the project:
npm run build
Builds the client for production to the ./client/build folder, and the server into the ./server/dist folder.
Testing
npm test
Launches the test runner in the interactive watch mode.
Code Style
For linting and auto-formatting you can use from the root of the project:
# auto format all ts & css with eslint & stylelint
npm run lint

# auto format all ts & css with prettier, taking all configs into account
npm run format
License
Copyright 2018 Ocean Protocol Foundation Ltd.

Licensed under the Apache License, Version 2.0 (the "License");
you may not use this file except in compliance with the License.
You may obtain a copy of the License at

   http://www.apache.org/licenses/LICENSE-2.0

Unless required by applicable law or agreed to in writing, software
distributed under the License is distributed on an "AS IS" BASIS,
WITHOUT WARRANTIES OR CONDITIONS OF ANY KIND, either express or implied.
See the License for the specific language governing permissions and
limitations under the License.


